It is that time of the year when the warm days give way to the cooler nights. The leaves are falling and the burning bush in the backyard is starting to turn a deep red. While I have always loved the fall season and the cooler temperatures, I never really decorated much for the season except for hanging a wreath on the front door. However, last year my friend took me to her sister’s house and that is when everything changed. As I walked into her house, I could feel the warmness welcoming and it felt so cozy and inviting. I wanted to do my inspiration on that design throughout my house and yard. I am all about celebrating and decorating for Christmas, but I can now say that I am a Fall and Autumn decorator as well.
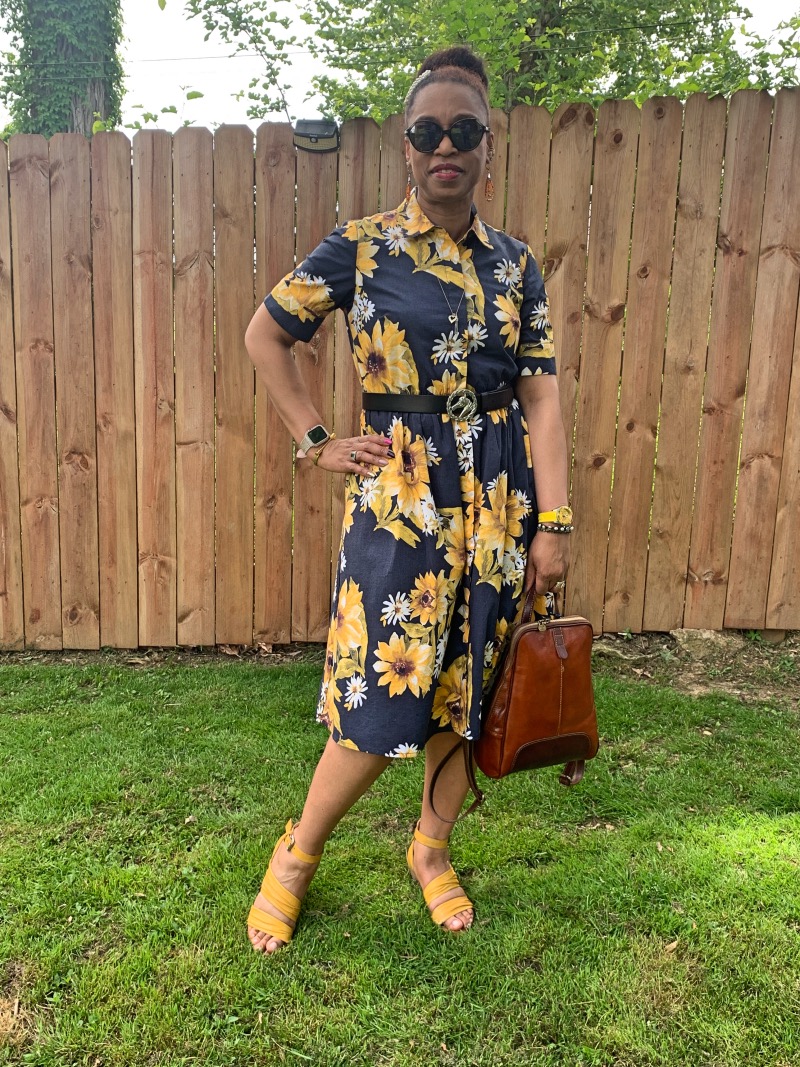
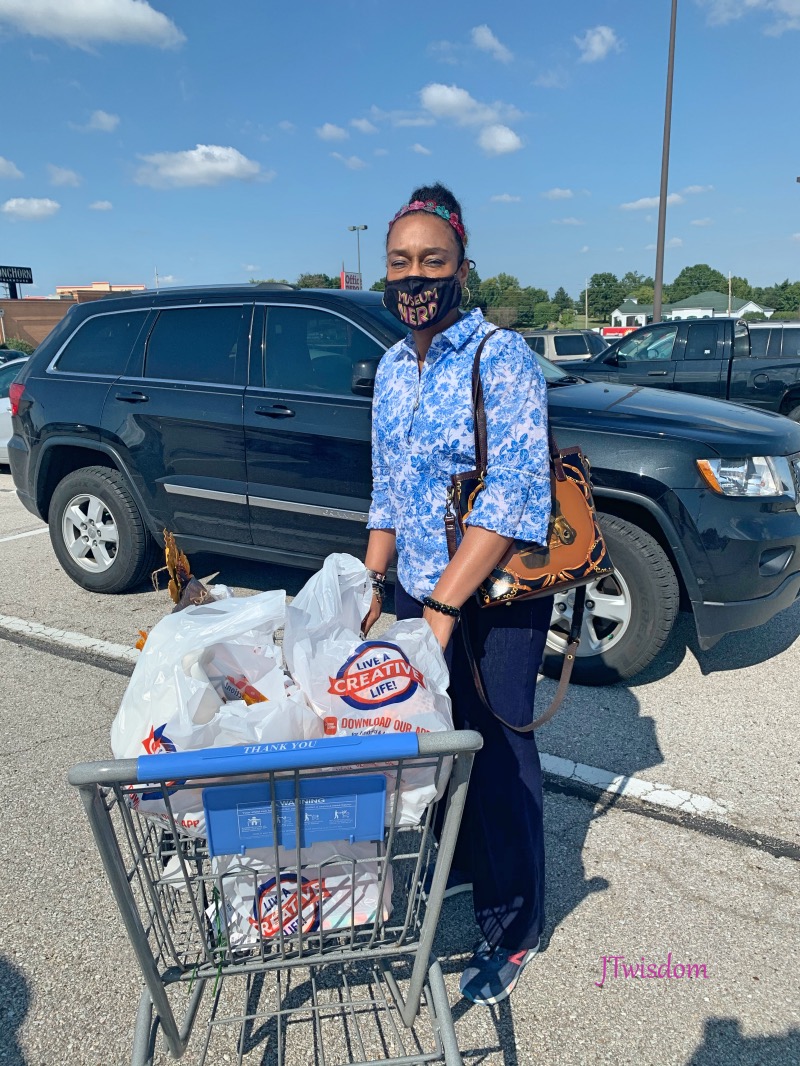
On my hubby’s birthday, we went to Chuck’s Boot to find his new birthday boots. In the store, my hubby felt like a kid in a candy store and I will share that experience will be for another post. After having fun there we stopped by Hobby Lobby to see if they had any sunflowers. When we walked in and realized it was a 40% sale on all Fall Holiday decorations, we had to see what else we could find. We found some really good deals on several cute items. Hobby Lobby is a great place to find holiday decor at a reasonable price. Typically all of the current holiday items will be discounted 40% or more. You can even go after the holiday and find deeper discounts as well. You will also find so many wonderful non-holiday decor items in the store. It’s just wonderful.
Jay and I had so much fun decorating that we filmed a video of how we decorated the front and backyard.
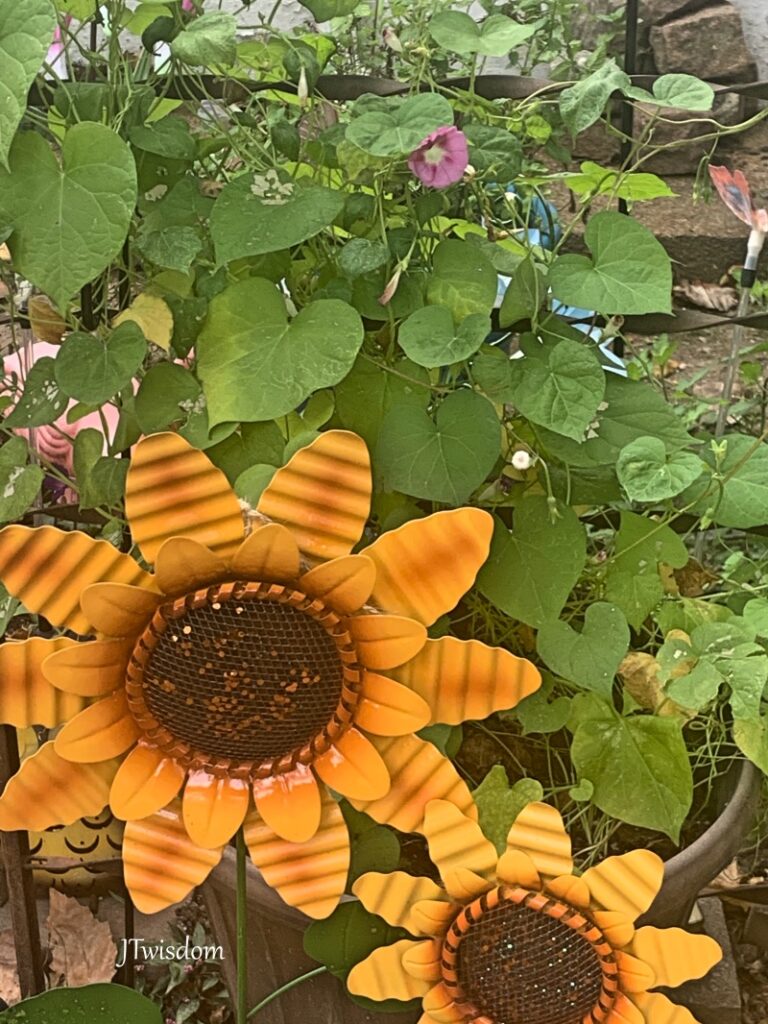
Metal Sunflowers mixed in with morning glories trailing on the railing
Three Top Tips To Fall Decorating
1 Think about what is your style and have fun experiment with it. You don’t have to put up a gazillion decorations (unless you want to).
2. See what stores have available, what is on sale or as a great deal. You don’t have to pay full price for seasonal items. If you are crafty like me, you can make a wreath or add pizazz to the decorations you have by additional items, like a a faux sunflower or gourd.
3.Try something different or unexpected, like battery-operated fall leaves around your mailbox or longsteamed sunflowers in a vase.
The main point is to enjoy yourself and have fun. And see if the family would like to get involved.
You want it to be the happiest day of your life, but your wedding budget might not allow for the most extravagant of purchases. It’s something we all give thought to, but doing our wedding entirely by DIY methods sounds like a major undertaking. But it seems that now, so many couples are bound by numerous wedding expenses, that they have no choice but to do the vast majority of it themselves. But while this sounds impossible, it’s amazing what you can do when you put your mind to it …
A Stylish Guest Book What better way than to capture your memories of the big day and put across a little bit of style in keeping with the theme of the wedding than with a guest book? The great thing about it is that you can choose any team you want. You could keep it simple and purchase a large ledger and decorate your front cover with some ribbons, paper roses, or you could get creative and design some detailed, yet beautiful imagery. Vinyl is something that doesn’t always come to mind but the glossy sheen of vinyl material can add a layered effect to a bog standard ledger. The great thing with vinyl material is that you can fashion it into almost anything, just as long as you have a good quality vinyl cutting machine, and on vinylcuttingmachineguide.com there’s a guide to the best types out there. But remember, you don’t have to just turn it into a traditional guest book; you can do it another way, such as by getting thinly sliced bits of a tree for your guests to sign, postcards, or even Jenga blocks! Let your mind run riot!
Wedding Favors There are so many things you can do as wedding favors, there are a few suggestions on theknot.com but if you are a couple that enjoys their food, a very simple favor that puts across your style and interests is olive oil! Not just standard olive oil, but you can infuse it with your favorite herbs and spices, purchase small bottles, and create labels with the date of the wedding that your guests can take away. Simple, effective, and not that expensive!
Paper Flowers This one requires a bit of finesse, and it’s understandable if you don’t feel up to task, but while flowers are so expensive, you can make a paper bouquet, or, at the very least, add to your limited flower budget by fashioning a few paper roses. There are numerous tutorials online to have a look at, and most of them say that it’s not that difficult! But, like with any difficult item of craft, once you’ve made one, you can make 100!
As far as your options are concerned, the options for DIY wedding crafts are limitless. From wedding favors to flowers, it can save you a lot of money for the big day, just as long as you remember to put in the time beforehand. After all, doing these things at the last minute can add undue stress your last minute wedding plans!
FTC Disclaimer: This is a collaborative post and may contain affiliate links.
Did you know that scrapbooking is very popular and is an awesome way to share your memories with friends and family.
I received a complimentary copy of the latest version of the My Memories scrapbooking software. I will be hosting a giveaway where one person will receive a free copy of the digital scrapbooking software from MyMemories.
I have used Mymemories to create digital scrapbooks so it was great that they offered to collaborate again. As I have said many times before, I have so many pictures that what better way to use them to create a photobook or single page for myself, family or friends. Even if you do not have a lot of computers experience there are Youtube videos to guide you. I wasn’t able to find the latest video with the most current software; but some of the same instructions apply to the new software.
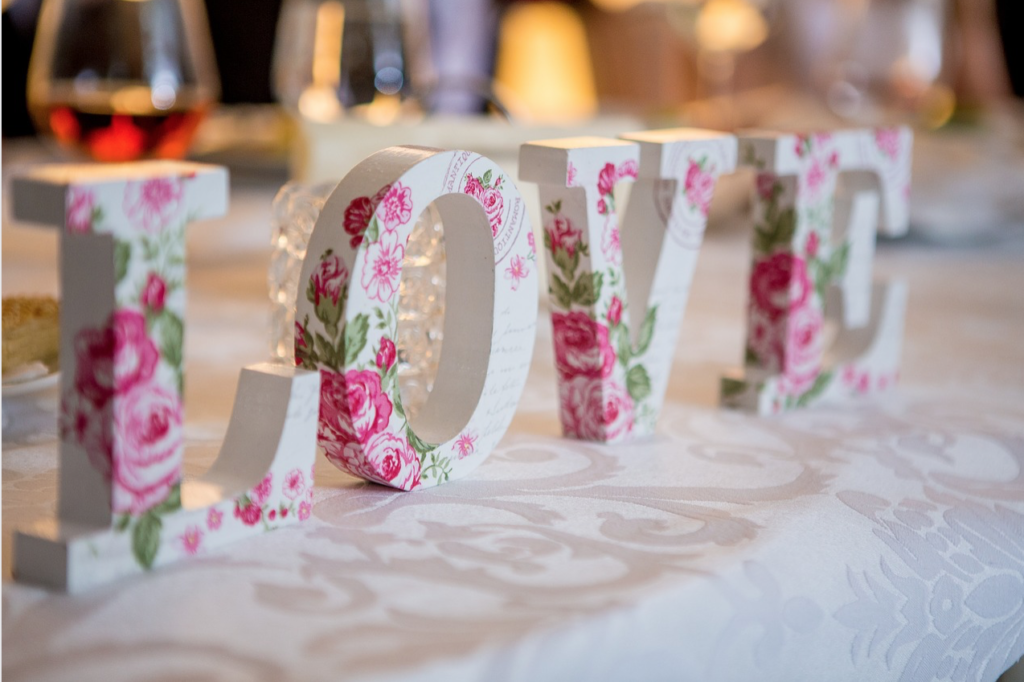
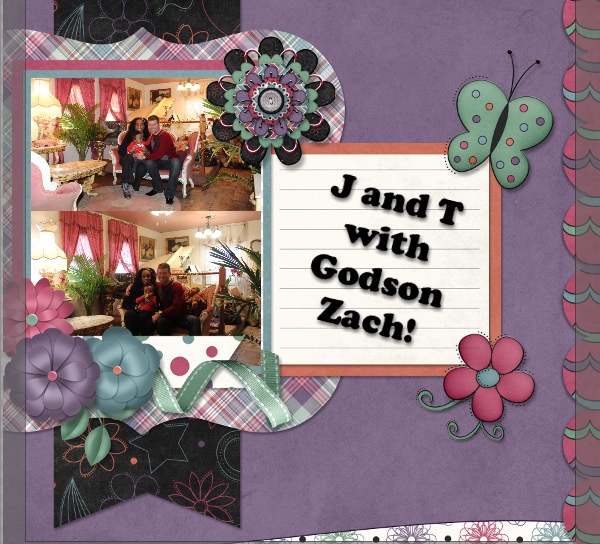
I created a picture of my hubby and I with our godson Zachary. I had a lot of fun adding in photos and wording. The sky is the limit of what you can do. This template design is called Vintage Rose. I really like the contrast of colors with this design. It really gives the breath of fresh air of spring.
Creating a page is quite easy and the designs of creativity are endless.
Digital Scrapbook Image
How To Instructions
The latest version of MyMemories is 9. I did not see a current video tutorials; but I saw a pdf, click here if you need help.
The software is before to add photos, embellishments, text and layers. I am thinking about creating my own photo album.My God son’s birthday party is Resurrection Week so I have some ideas.
Okay, on to the Giveaway Contest Guidelines 1. Go to www.MyMemories.com and choose your favorite digital design paper pack or design layout. Then come back to this post and leave a comment, letting me know which one you chose and what you like about the design.
2. For extra entries in the giveaway, follow MyMemories on the social media outlets. * Blog * Facebook * Twitter After you follow MyMemories, please add that information into your comment. For each follow, you will receive one additional entry into the giveaway.
3. All comments must be posted by midnight (Central) Monday, May 28th. The winner will be announced on Wednesday, May 30th. The winner will receive his or her own copy of the MyMemories Suite Version 9.
Making your own home decorations can really stamp your personality on your living space. Home crafting is one of my favorite past times, and I just love the chance to get creative and let loose with some unique pieces. It’s not that hard to do, either. So, if you are a little worried about trying your hand at home-made crafts, then why not try these simple ideas? You’ll learn the basics while having a lot of fun, and it won’t be long before you can let your imagination run wild.
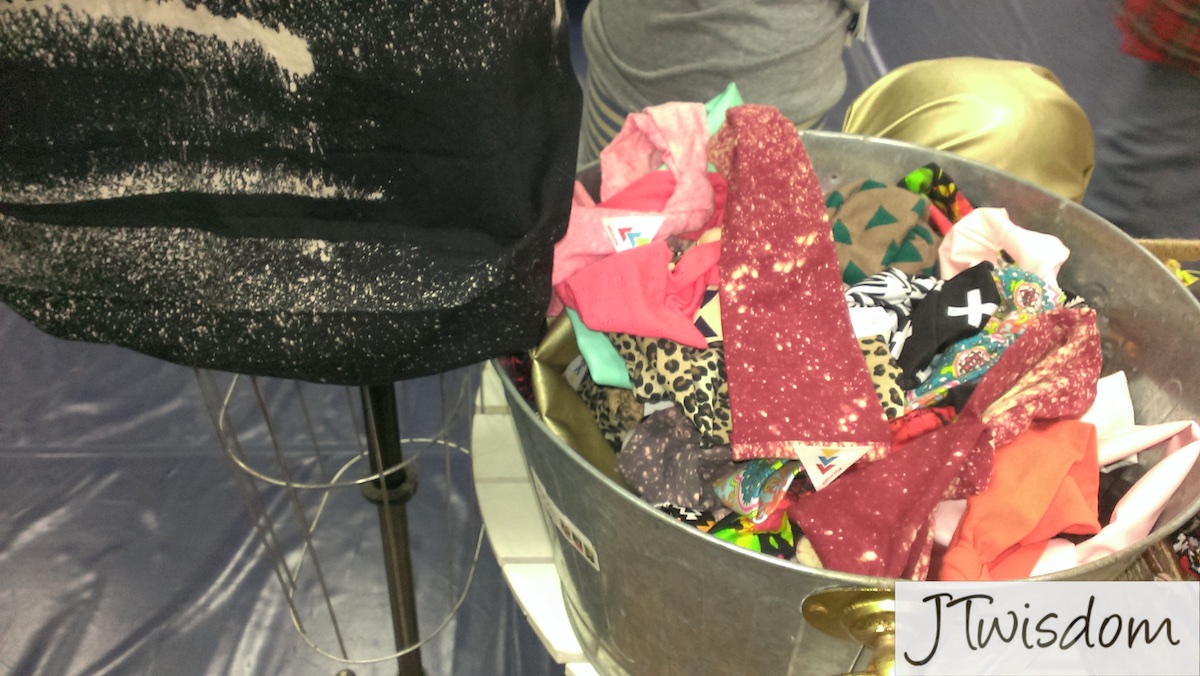
Fabric Samples from a Local Craft Fair
Frame Up Your Photos
Let’s start with the easiest of all – framing one of your self-taken photos. You can build a frame from virtually anything you like, from driftwood to discarded metals, or even old ceramic tiles. I love this rustic frame made from sticks, faux moss and a few flowers, for example. The only limits are your imagination, and it is such an easy way of getting started into home crafts. All you need is some material to use, some scissors, glue and string, and once you have finished, you will have an entirely unique picture in a handmade frame. It’s a very rustic effect for city or country dwellers alike.
Cork Notice Board
If you enjoy a glass of wine with your meal, why not start saving up those corks? They can be used in a number of ways to create some interesting pieces, but my favorite by far has to be the cork notice board. All you need to get started are plenty of corks and a good-sized piece of thin plywood. Use glue guns to fix the corks to the plywood, and cover the entire piece. Once it has dried, and the corks are stuck fast, use some of the framing ideas above to finish it off. You’ll be left with a stunning and hardy notice board that you can pin important info on with ease.
Leaf Painting
Leaf painting is such an easy activity that even kids can do it well. In fact, if you have children, it’s an excellent way to get them into crafts as well as teaching them about nature. All you need is some good quality paint, a brush, and a healthy dollop of creativity. How you paint them is up to you. Silvers and golds are great for the festive period (try making a garland or surround an advent wreath with them). However, you can get some excellent effects just by choosing some coordinated colors and either sticking them to your all or arranging them on a mantel or shelf.
Pot Pourri Hangers
If your wardrobe is getting a little musty, then why not make things a bit more appealing to the nose? Head to your local craft store and pick up some attractive material. Lace is always good for the more feminine amongst you, and some standard polyester will also be needed. Grab some tracing paper and an old clothes hanger, and use a pencil to draw an outline. Flip the hanger over and do the other side, leaving an inch or so for a border. You now have a template for cutting your fabric, so do that and put aside for the time being. Next, wrap the polyester strips across the shoulders, making them nice and plump. You can now secure the hanger to one side of the fabric with glue, place some of your favourite potpourri inside, and then seal the other side. Use faux flowers for added effect, and you are done! A beautiful hanger that not only looks great but will improve the smell of all your clothes!
Make A Keyholder
Need to spruce up your key holder? There are plenty of ideas that can turn this most mundane of objects into a genuine talking point. Whatever style your home is, you can create some truly stunning key holders with ease. Pieces of driftwood will look great hanging on your wall if you have a nature theme running through your house. For a more funky look, just buy some kids’ alphabet blocks, add some screws, and fix the to the wall with sticky-backed plastic. You can spell out any words that you like – even going so far as to personalizing them, so you and your partner never have to argue over keys again.
Create Unique Lampshades
Creating your own lampshades is so easy to do, yet so few people attempt it. Pick up a DIY lampshade kit and come up with some ideas. You can either wrap it in old wallpaper offcuts or use fabric. A good material allows a little extra creativity, as you can create a self-inspired design or pattern. Just buy plain material and sculpt a lino block to your liking. Then dip the block into the paint of your choice, and go wild with your design. It is simple and cheap enough to make plenty of mistakes when you are just starting out.
Make Use Of Your Cardboard
If you go into any home design store, you will often find beautiful storage boxes made from vinyl or cardboard. But, when you look at the price tag, all of sudden they don’t seem that pretty at all. Why spend the money when you can make your own storage boxes for a fraction of the price? Even an old shoebox can look magnificent wrapped in some cheap hessian or burlap and a simple design printed on it. You could also look at your local thrift store for old metal handles to stick on. Even old wallpaper and some off cut upholstery fabric can turn a standard delivery box into a glorious storage unit. Again, all you need is a glue gun, some excellent raw materials, and a good imagination.
I hope this post has given you some ideas on how to jazz up your living space. It is so much easier than you think to create something entirely unique. None of these ideas are expensive, so even if you struggle with the learning curve you will be able to afford to make mistakes. Happy crafting!
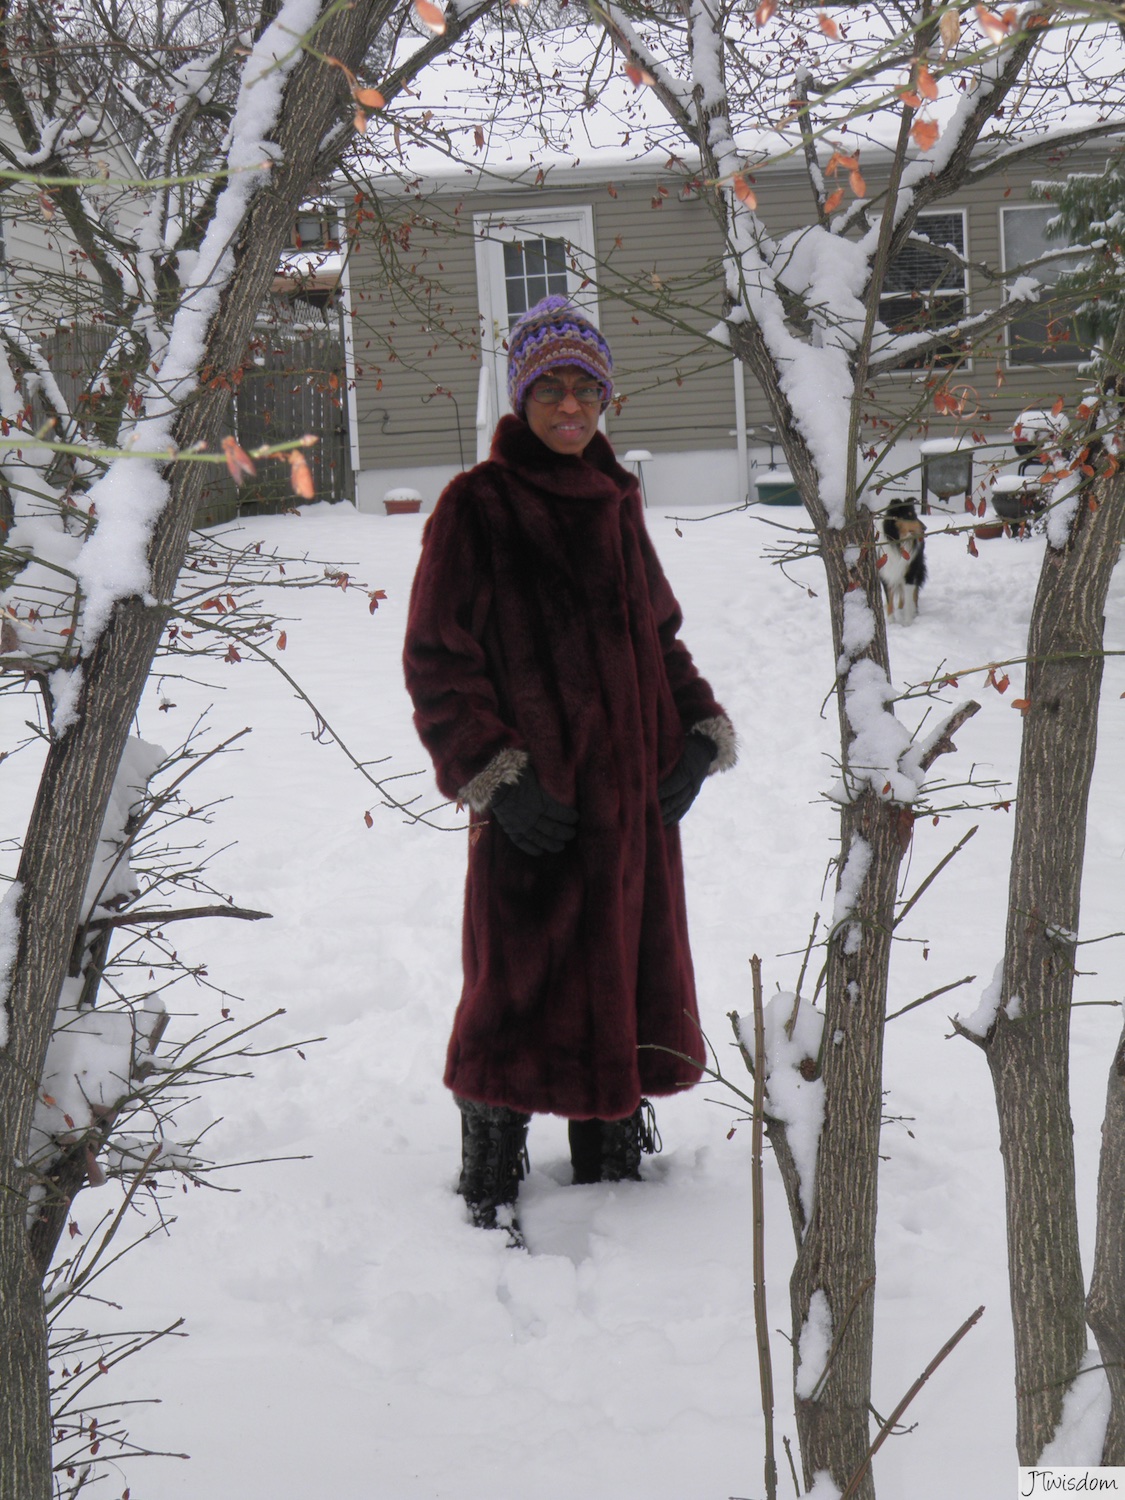
I have been getting back to crocheting and I decided to make my hubby a new artsy free-form scarf. I had been dealing with a stomach virus last weekend and part of this week. But thankfully, Praise God I am feeling good. My hubby and I made some homemade chicken broth and let my tummy heal with the BRAT method (broth, rice, apple sauce and toast).
Even though I was not feeling 100 percent last weekend, I had to get outside because the snow was falling and it was pretty. This week the snow turned to ice and is now melting. That’s okay because I enjoy all the seasons that God created, especially fall and winter. I know that I am that 1 percent of people who enjoy snow.
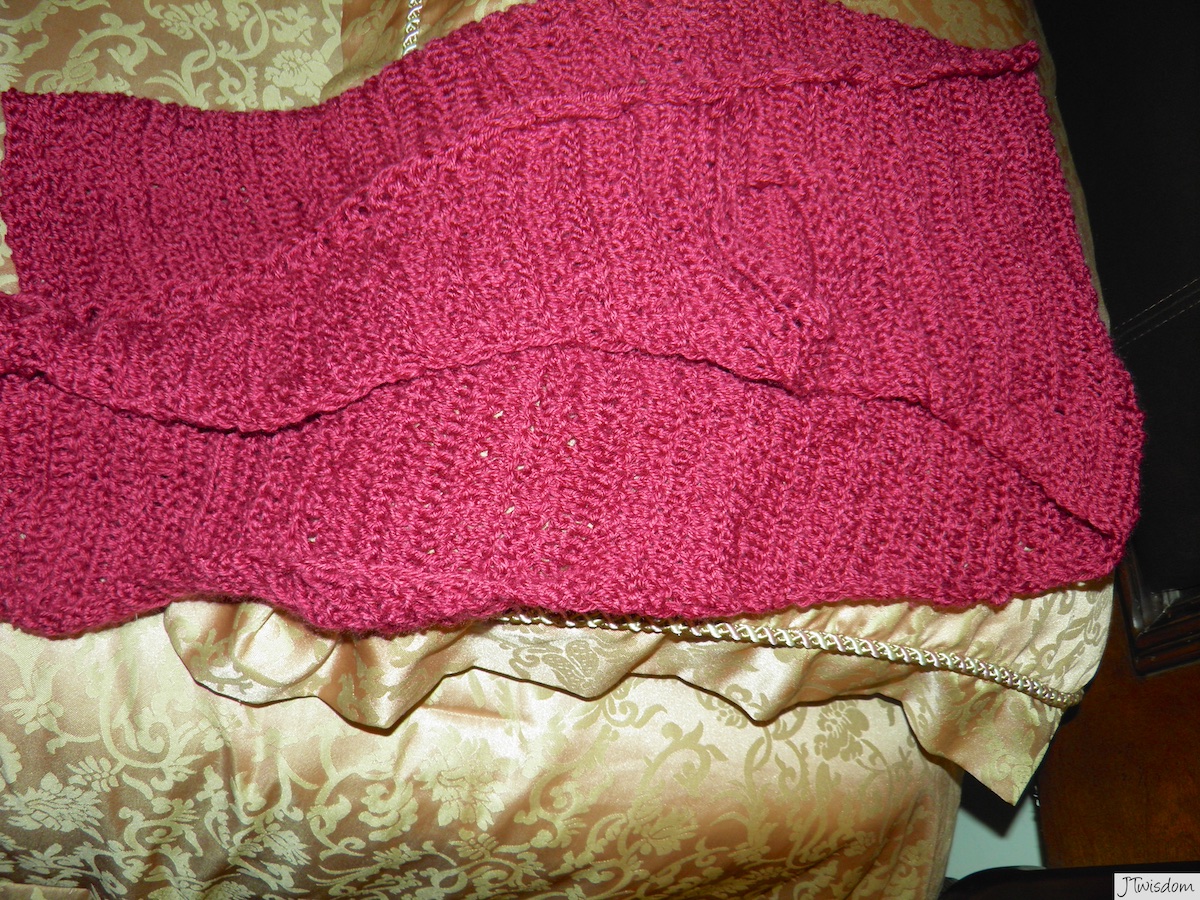
To make the scarf, I used the TLC yarn in Fusion. I bought the yarn a while back, but the Fusion color is quite rich and has sheen to it. The scarf is in the shape of a rectangular triangle. I used my imagination to create an unique scarf. I did not count stitches, it was purely freestyle. My mother taught me how to crochet. I will never forget the orange handbag she crochet for my Barbie doll.
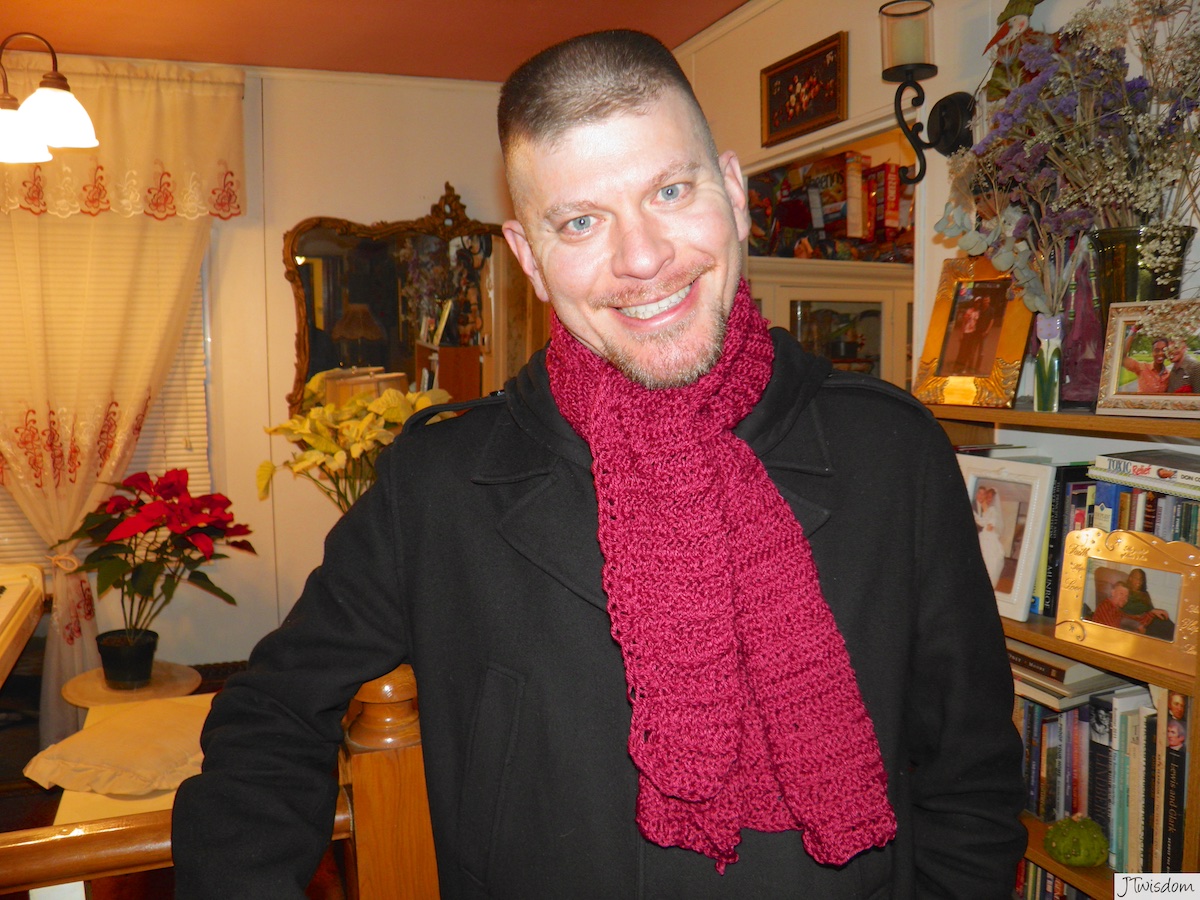
My hubby didn’t know I could crochet and was really keeping up with my progress.
I finished the scarf yesterday after spending about two weeks to finish it. Even though I wasn’t feeling well during most of the that time, I tried to spend a little time each day. My hubby really liked it that he modeled the creation for me. I am pretty critically and at first wanted it to be the same length but I didn’t count stitches and hubby kept telling me that he liked the scarf just the way it was so I kept it that way. I even stitched a hole for one end of the scarf to go through but decided to close it up because I decided to go a different creative route.
The scarf really looks good on him and I think this color reminds me of the marsala the pantone color of the year. I used the entire skein and this project gave me some ideas on what I would like to do next. I have some more yarn that I may make another scarf but this time I would count the stitches if I want it more uniform.
Hubby modeling the scarf
This was a great project because I haven’t crocheted in years. It made me feel good that my hubby really took the time to take an interest and wanted to wear one of my creations. Are you a crocheter? Are you a knitter? Let me know what yarn projects have been working on lately;
Follow!
Welcome!
Learn More About JT
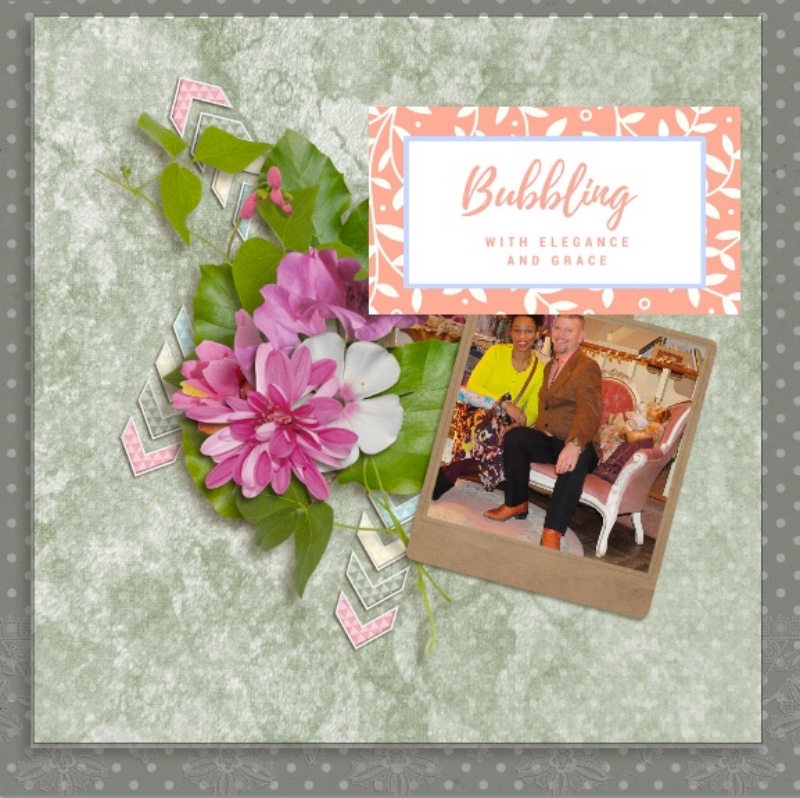
Bubbling with Elegance and Grace started out as an outlet for my passion for fashion but has evolved into a place for me to teach, collaborate, and inspire. My hubby has since joined the team and we have been digital creators for 13 years. We are thankful for those who believed in us from the beginning and those who have just started riding with us on this lovely journey.


Follow!